
Connecting a diagnostic tool, also known as an OBD2 scanner or car code reader, to your car is the first step in diagnosing potential issues. This guide provides a comprehensive overview of how to use a diagnostic tool on your car, from locating the OBD2 port to understanding the codes.
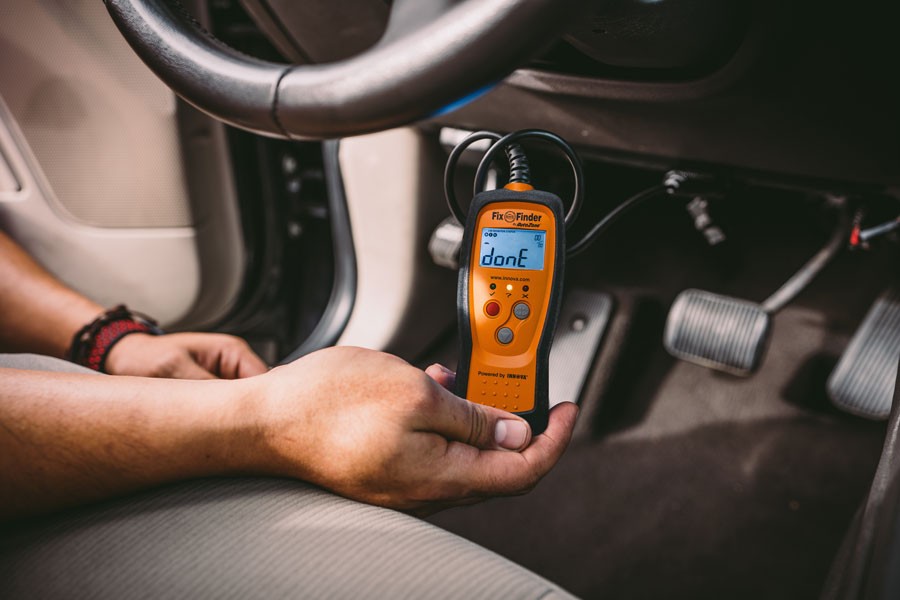 OBD-II scanner done reading trouble codes
Locating the OBD2 Port
The OBD2 port is a 16-pin trapezoidal connector typically located under the driver’s side dashboard. However, it can sometimes be found in the center console or under the passenger side dash. Once located, connecting the OBD2 scanner is straightforward. The male end of the scanner only fits one way into the female port. Align the trapezoidal shapes and firmly push the connectors together.
Connecting the OBD2 Scanner
The correct procedure for connecting an OBD2 scanner is as follows:
- Ignition Off: Ensure your car’s ignition is turned off before starting.
- Connect the Scanner: Plug the scanner into the OBD2 port.
- Ignition On: Turn the ignition to the “on” position, but do not start the engine. This powers up the OBD2 port and, in most cases, the scanner.
- Boot Sequence: Allow the scanner to complete its boot-up sequence.
- Input Information: The scanner may prompt you for information like engine size or VIN. Follow the on-screen instructions.
Navigating the Scanner Menu
After the scanner boots up, you’ll see a menu with various options. These options will differ depending on the type of scanner you have, ranging from basic code readers to advanced diagnostic tools. Common menu options include:
- Read Codes: Displays Diagnostic Trouble Codes (DTCs) indicating potential problems. It might also provide a brief description of the fault.
- Erase Codes: Clears stored DTCs from the vehicle’s computer. This is usually done after repairs are completed.
- Live Data: Provides real-time sensor readings, allowing you to monitor various parameters and identify anomalies.
- Freeze Frame: Captures vehicle data at the moment a DTC was set, providing valuable diagnostic context.
- Vehicle Info: Displays basic information about your vehicle’s make, model, and year.
- I/M Readiness: Shows the status of emissions-related systems and their readiness for smog testing.
Understanding Diagnostic Trouble Codes (DTCs)
DTCs follow a specific format: a letter followed by four numbers (e.g., P0301).
-
Letter: Indicates the system where the fault occurred:
- P: Powertrain (engine, transmission, emissions)
- B: Body (airbags, interior systems)
- C: Chassis (suspension, steering)
- U: Network communication
-
Numbers: Provide further details about the fault:
- First Digit: 0 for generic codes, 1 for manufacturer-specific codes.
- Second Digit: Identifies the subsystem.
- Third and Fourth Digits: Pinpoint the specific fault within the subsystem.
For example, P0301 indicates a generic powertrain code related to a cylinder 1 misfire. Resources are available online and in repair manuals to decipher specific DTC meanings.
Using a Diagnostic Tool for Cost Savings
Diagnostic tools can save you money on car repairs in several ways:
- Early Diagnosis: Identify potential problems early, preventing them from becoming more serious and costly.
- Smog Check Readiness: Determine if your vehicle is likely to pass a smog test.
- DIY Repairs: Diagnose and fix simple issues yourself, avoiding expensive labor costs at a repair shop.
Conclusion
Understanding how to use a diagnostic tool empowers car owners to take control of their vehicle’s maintenance and repair. While a diagnostic tool doesn’t provide a definitive diagnosis, it offers crucial information to guide troubleshooting and repair decisions. By following this guide, you can effectively utilize a diagnostic tool to keep your car running smoothly.