
So, you’re looking to dive into the rewarding world of restoring diecast cars, particularly classic Matchbox models? The good news is, you won’t need a garage full of specialized equipment to get started. In fact, the necessary Diecast Car Restoration Tools are surprisingly minimal and compact enough to fit in a small toolbox. While some tools are purpose-built, many are common household items you might already own, like a drill. Although advanced tools like a rotary tool (such as a Dremel) can be helpful, their power can also lead to mistakes, especially for beginners. It’s generally best to begin your diecast restoration journey with hand tools.
Magnification: Seeing the Details
For anyone undertaking diecast restoration, especially with intricate models, magnification is often indispensable. As we age, seeing fine details becomes more challenging, making magnification tools crucial.
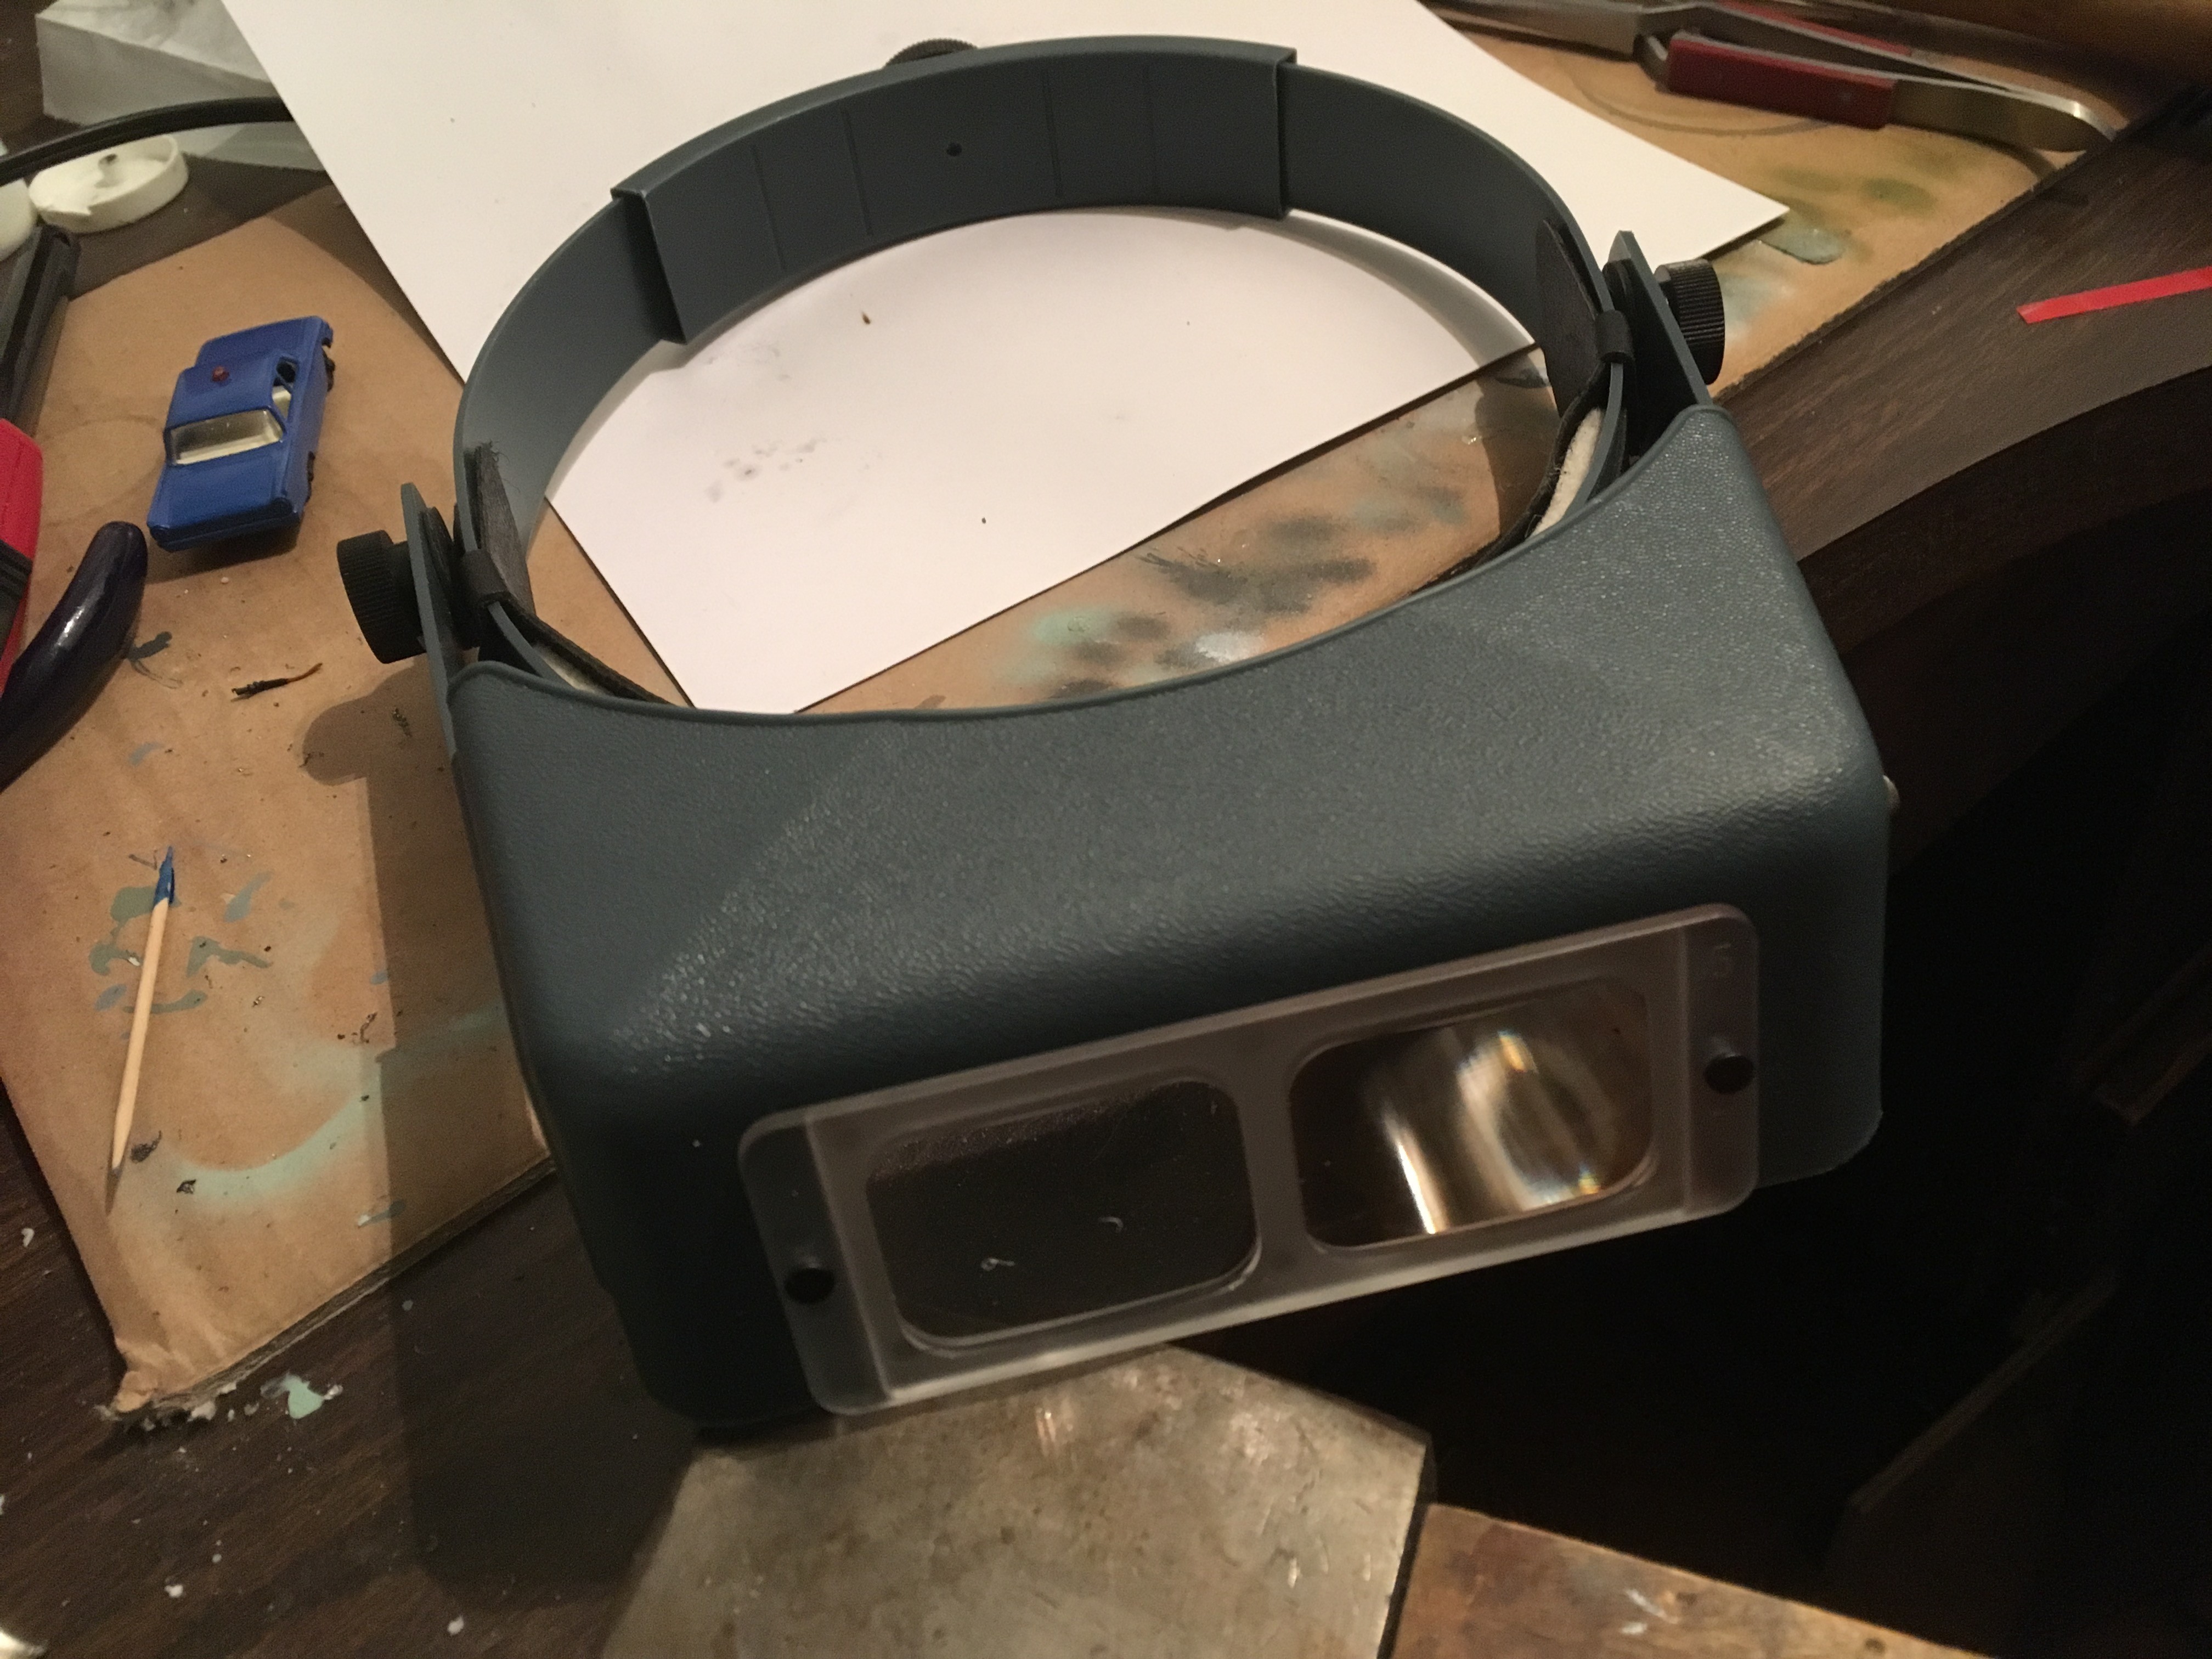
Starting with budget-friendly options, simple reading glasses with a strong magnification (+3 or similar) can be surprisingly effective for close-up work. These are readily available and inexpensive. Moving up in terms of functionality and quality, the OptiVisor head-mounted magnifier is a tool many restorers, including myself, find invaluable. Having recently acquired one, I now wonder how I managed without it! OptiVisors come with lens options in both plastic and glass. While both are functional, glass lenses offer superior clarity. For the highest level of magnification, a low-power stereo dissection microscope is ideal for examining minute details. I was fortunate enough to obtain an older model microscope years ago, which is excellent for detailed inspection. However, its size and weight mean I primarily rely on my OptiVisor for Matchbox car restoration due to its convenience.
Rivet Removal and Replacement: Dismantling and Reassembling
Classic Matchbox cars are typically held together by rivets, often integrated into the car body casting itself. A fundamental step in restoration is the ability to separate the body from the baseplate by addressing these rivets, and then securely reassembling them post-restoration. The standard method for rivet removal involves using a 1/4″ drill bit. Carefully drill into the rivet head just enough to remove sufficient metal, allowing the body to be gently separated from the base. A hand drill with a sharp 1/4″ bit is essential for this task.
Re-attaching the body after restoration requires an alternative method since the original rivet is now removed. A common and effective technique is using a small amount of epoxy glue to rejoin the body and baseplate. For a more refined and authentic-looking approach, consider drilling and tapping the rivet post to accommodate a 2-56 button head screw. This method offers a visually similar result to the original rivet and has the added benefit of clearly indicating that the car has been restored, preventing any potential future misrepresentation as original. Furthermore, this screw method allows for future disassembly for cleaning or further restoration if needed.
Implementing the screw method requires additional, readily available tools: 2-56 button head screws, a 2-56 tap, and a #50 drill bit (.070 inch). It’s advisable to purchase multiple taps and drill bits as they are delicate and prone to breakage. While the Zamak alloy used in Matchbox cars is soft, care and patience are still needed when drilling and tapping. A 1/16″ drill bit can be used as an alternative to the #50, but it’s slightly undersized, making tapping more difficult. When tapping, proceed slowly, advancing the tap slightly and then reversing to clear metal shavings. Excessive force can easily break the tap. If a tap breaks within the rivet post, removal is extremely challenging, often necessitating the use of epoxy for reassembly instead. Another potential issue is drilling too deeply and piercing the car’s body. While this can sometimes be repaired with epoxy and sanding, prevention through careful drilling is always preferable.
Wheels and Axles: Handling Miniature Components
Regular-wheel Matchbox cars utilize small, soft steel pins as axles, comparable in size to finish nails. Early models had axles simply squeezed in place, but most in the 1-75 series featured peened axles. Peening involves using light hammer taps to create a flared end on the axle, securing the wheel. Identifying a peened axle is easy: one end will be visibly larger than the other. Removing wheels requires addressing this peened end.
For wheel removal, modified smooth-jawed needle-nose pliers are ideal. The pliers must have smooth jaws to avoid damaging the axles; serrated jaws are unsuitable. Cheap pliers are often smooth-jawed, while higher-quality pliers typically have serrated jaws for better grip, which we want to avoid. Pliers with built-in wire cutters are also not recommended. Modifying pliers, as I’ve done by shortening a pair with a bench grinder, can make them easier to use, but it’s not essential. The technique involves gently squeezing and rotating the peened end of the axle with the pliers. This gradually rounds out the peened edge, allowing the wheel to be slipped off.
However, repeatedly squeezing the axle can cause work hardening, making the steel brittle. Analogous to bending a paperclip repeatedly until it breaks, work hardening can lead to axle damage during re-riveting. To prevent this, annealing – heating the axle end to red hot and allowing it to cool slowly – is recommended. A small propane torch is perfect for this, or a gas stove can be used.
A potential issue with axle squeezing is over-deformation. Excessive pressure in one direction can distort the axle into an oval shape, which is difficult to detect visually. If this occurs, a Dremel with a small grinding wheel can be used to carefully remove the burr from the axle end. Detailed instructions for this technique are available in videos by Marty’s Matchbox Makeovers and in the Tinman’s Restoration Handbook on the Vintage British Diecast website, excellent resources for diecast restoration enthusiasts. Tinman suggests using a small diamond de-burring bit for precise control and minimal collateral damage.
Re-installing wheels involves gently re-peening the axle ends. A very light jeweler’s hammer is crucial for this step. Excessive force can bend the axle.
For riveting and straightening bent axles, a solid metal surface is needed to hammer against. A bench vise often has a suitable flat area, or a small jeweler’s anvil can be used. Alternatively, a drill press can be employed for axle reattachment, using modified nails with dimpled ends to support and peen the axle under pressure. While potentially more accurate and similar to factory methods, I prefer using a jeweler’s hammer as it leaves subtle marks that can indicate the axles have been modified, a detail often sought by collectors to identify restored models.
Additional Useful Tools
A small wire brush, similar to a toothbrush, is invaluable for paint removal when used with chemical paint strippers. I generally avoid sandpaper as it can be too abrasive for the soft diecast metal, potentially damaging the surface. However, sandpaper might be necessary for deep scratches or filler work. Wire brushes are available in brass and steel. Brass brushes are gentler, while steel brushes are more aggressive for faster paint removal but pose a higher risk of scratching. Steel wool or bronze wool can also be used for achieving a smooth finish.
A soft toothbrush is excellent for gently cleaning plastic parts like interiors and wheels.
Dental picks are incredibly useful for removing residual paint from crevices and tight spots after stripping. While they can cause minor scratches, these often occur in joints or panel lines, sometimes enhancing casting details. However, a light touch is essential to avoid damage.
Other helpful tools include small paintbrushes for touch-ups and detailing, an X-acto knife for precision work, scribers for panel lining, and needle files for shaping and refining parts. While some restorers use airbrushes for painting, I often find spray cans with enamel paint sufficient for many projects. Spray cans offer convenience, durability, and a finish similar to the original factory paint, albeit with a limited color selection. Airbrushes are reserved for achieving specific colors not available in spray cans, as solvent-based paints used in airbrushes require proper ventilation and cleaning. For those considering airbrushing, a budget-friendly airbrush can be a good option for diecast restoration. Always ensure adequate ventilation when using solvent-based paints and paint strippers, as these materials contain volatile organic compounds that are harmful to inhale.
Jeweler’s Tools: Enhancing Precision
Jeweler’s tools, while not strictly essential, can significantly enhance the precision and ease of diecast car restoration. A bench pin, a work support that clamps to your workbench, is designed for jewelry sawing but is perfectly sized for holding Matchbox cars.
It provides a stable platform for filing, sanding, scraping, and riveting wheels. Pin vises, designed to hold small tools, are excellent for holding 2-56 taps and can also be used to create custom scrapers by holding needles.
This list represents the core diecast car restoration tools I commonly use for Matchbox cars. As a tool enthusiast, my collection extends far beyond this list, incorporating tools from model building, jewelry making, blacksmithing, machining, and woodworking. When specialized tools prove particularly useful in specific restoration projects, I will highlight them in individual project posts. These additional tools are certainly optional, but leveraging existing tools whenever applicable is part of the resourceful nature of restoration!